
Pencil Pushers
Gallery


I am of the opinion that crafty people shall inherit the earth. Every few months I overhear (read: watch the IG story of) a designer espousing the virtues of a tool or technique that at-home crafters have been using since the dawn of time, presenting it as something they have discovered that will ✨ change design production forever ✨. I will never forget having a conversation with an old coworker, who was gushing about his new “die-cut machine”—only to learn he was talking about the Cricut. Everyone should have access to these tools, I just find it really annoying when designers claim ownership of them just because the original users don’t wear Aimé Leon Dore 🤪. All that said, I’d like to pass on some crafty knowledge inspired by a recent assignment for work here at ol' Varyer.
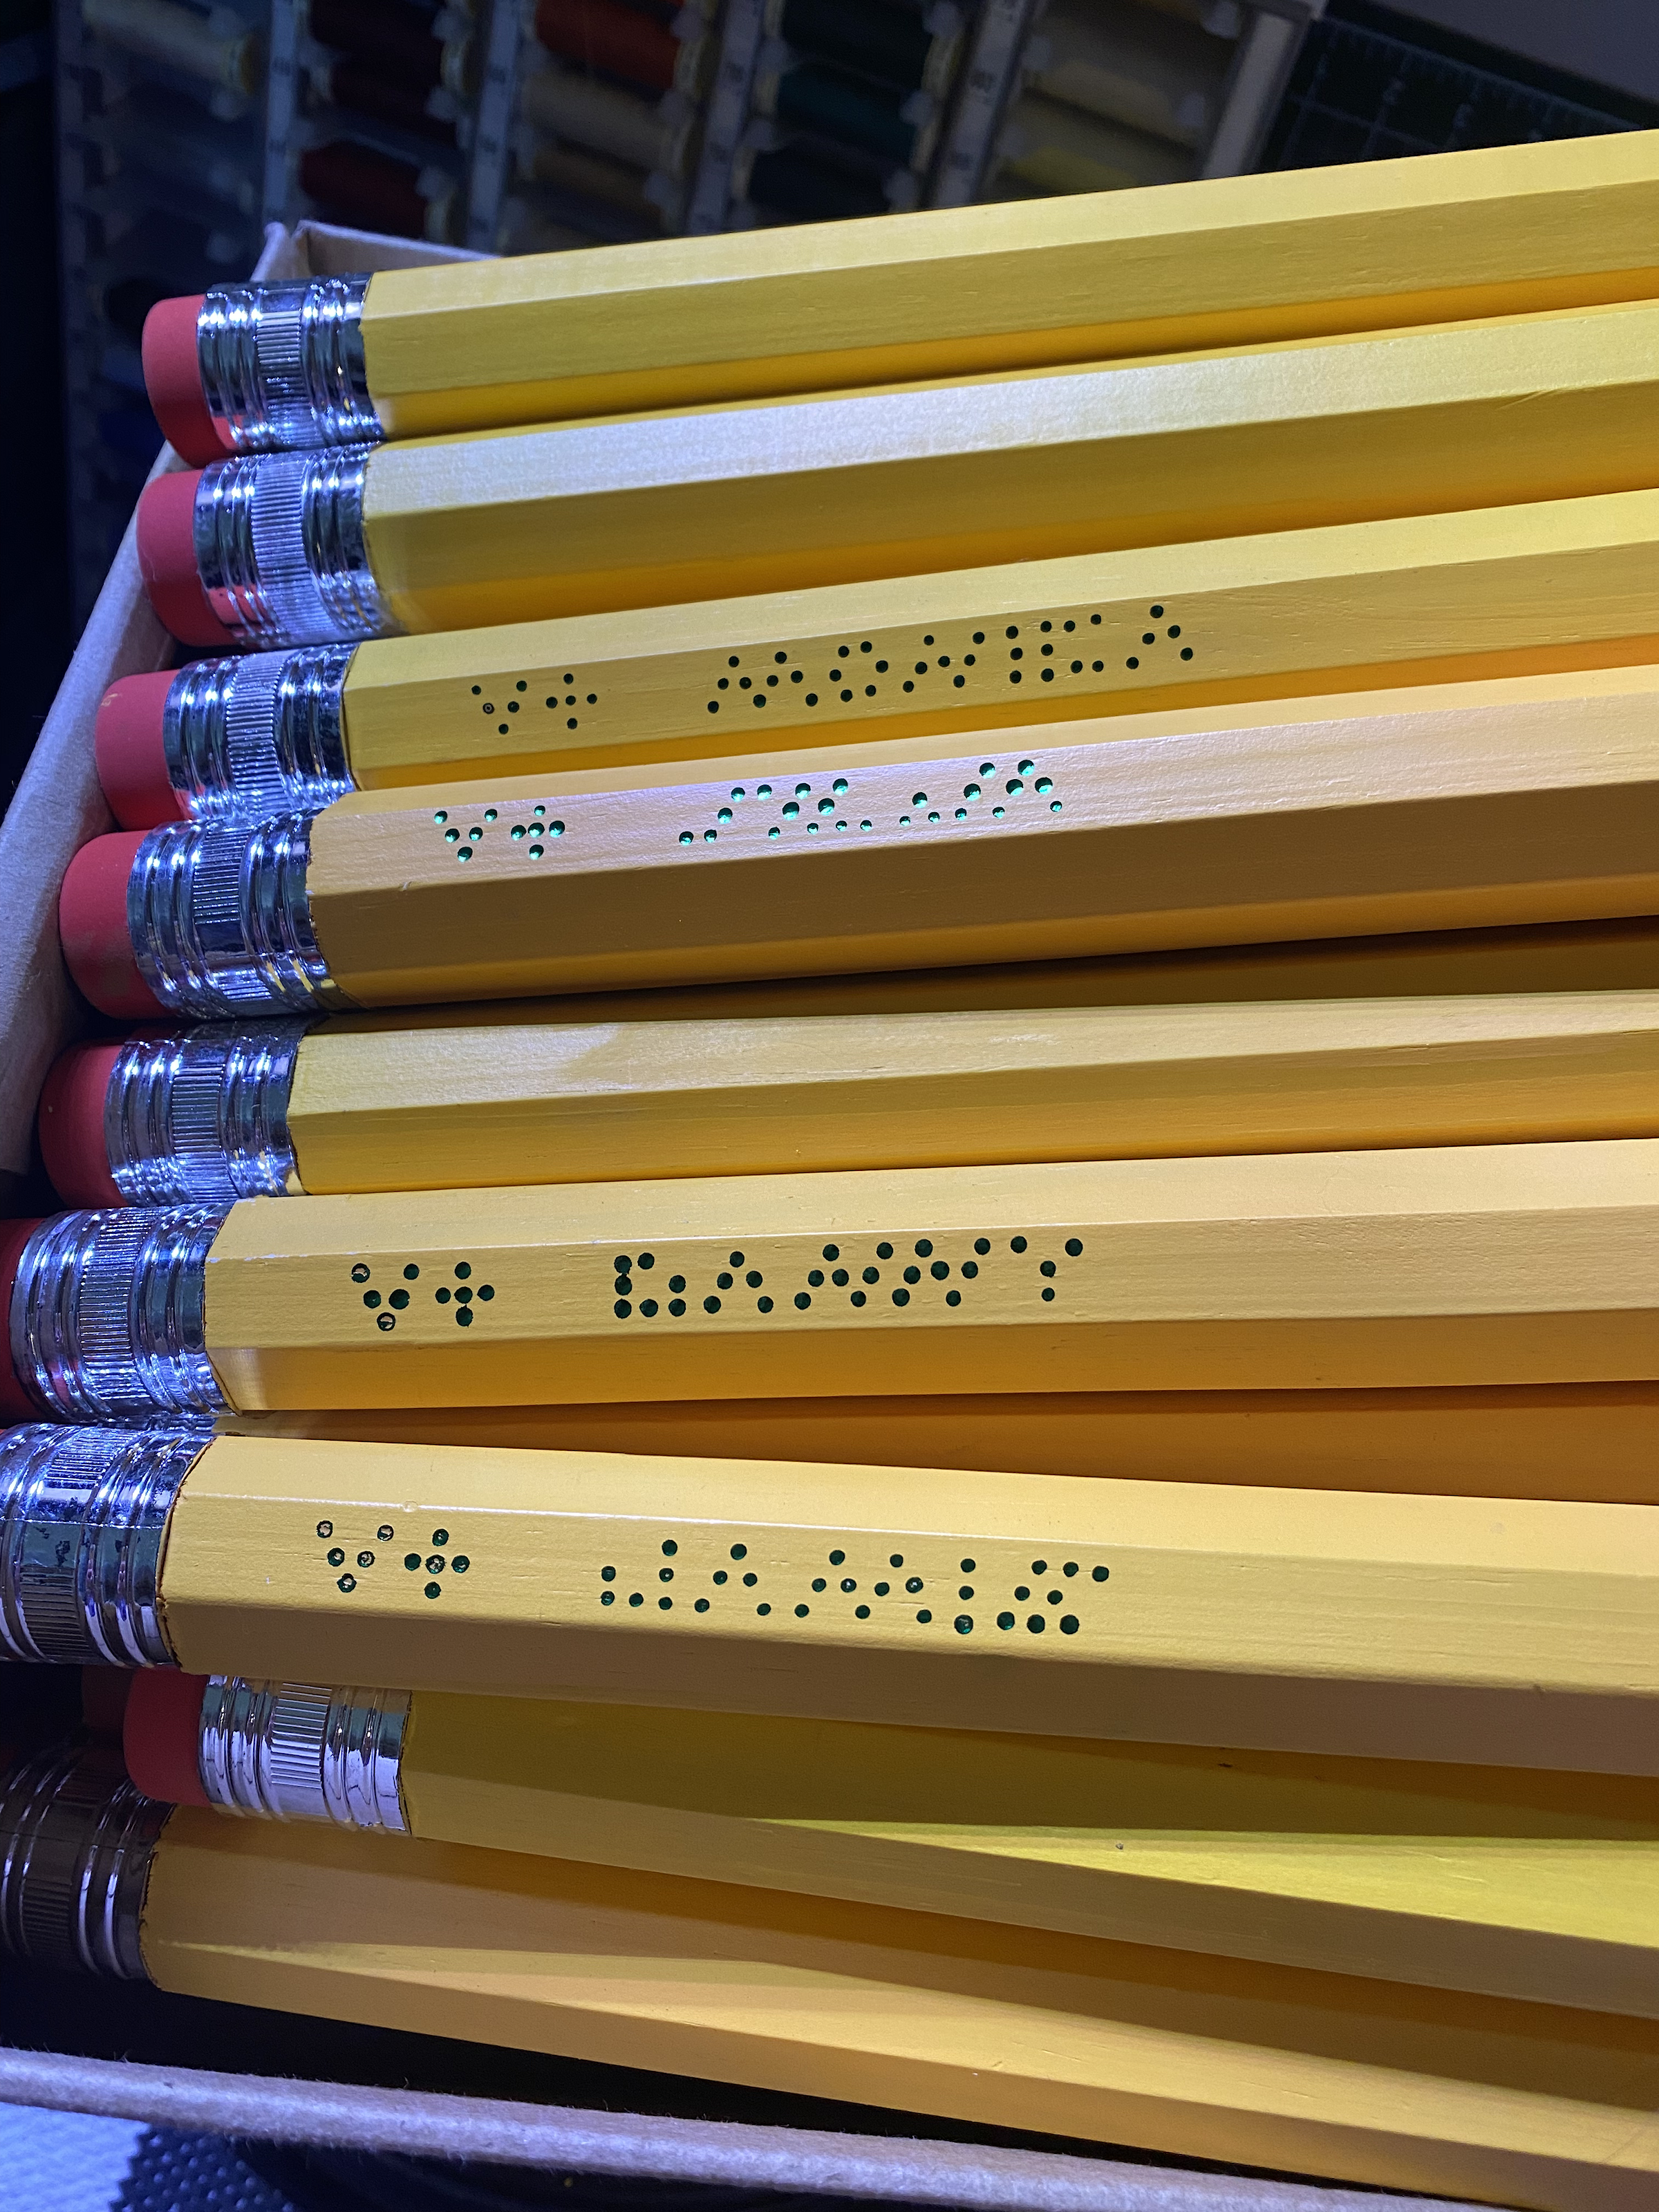
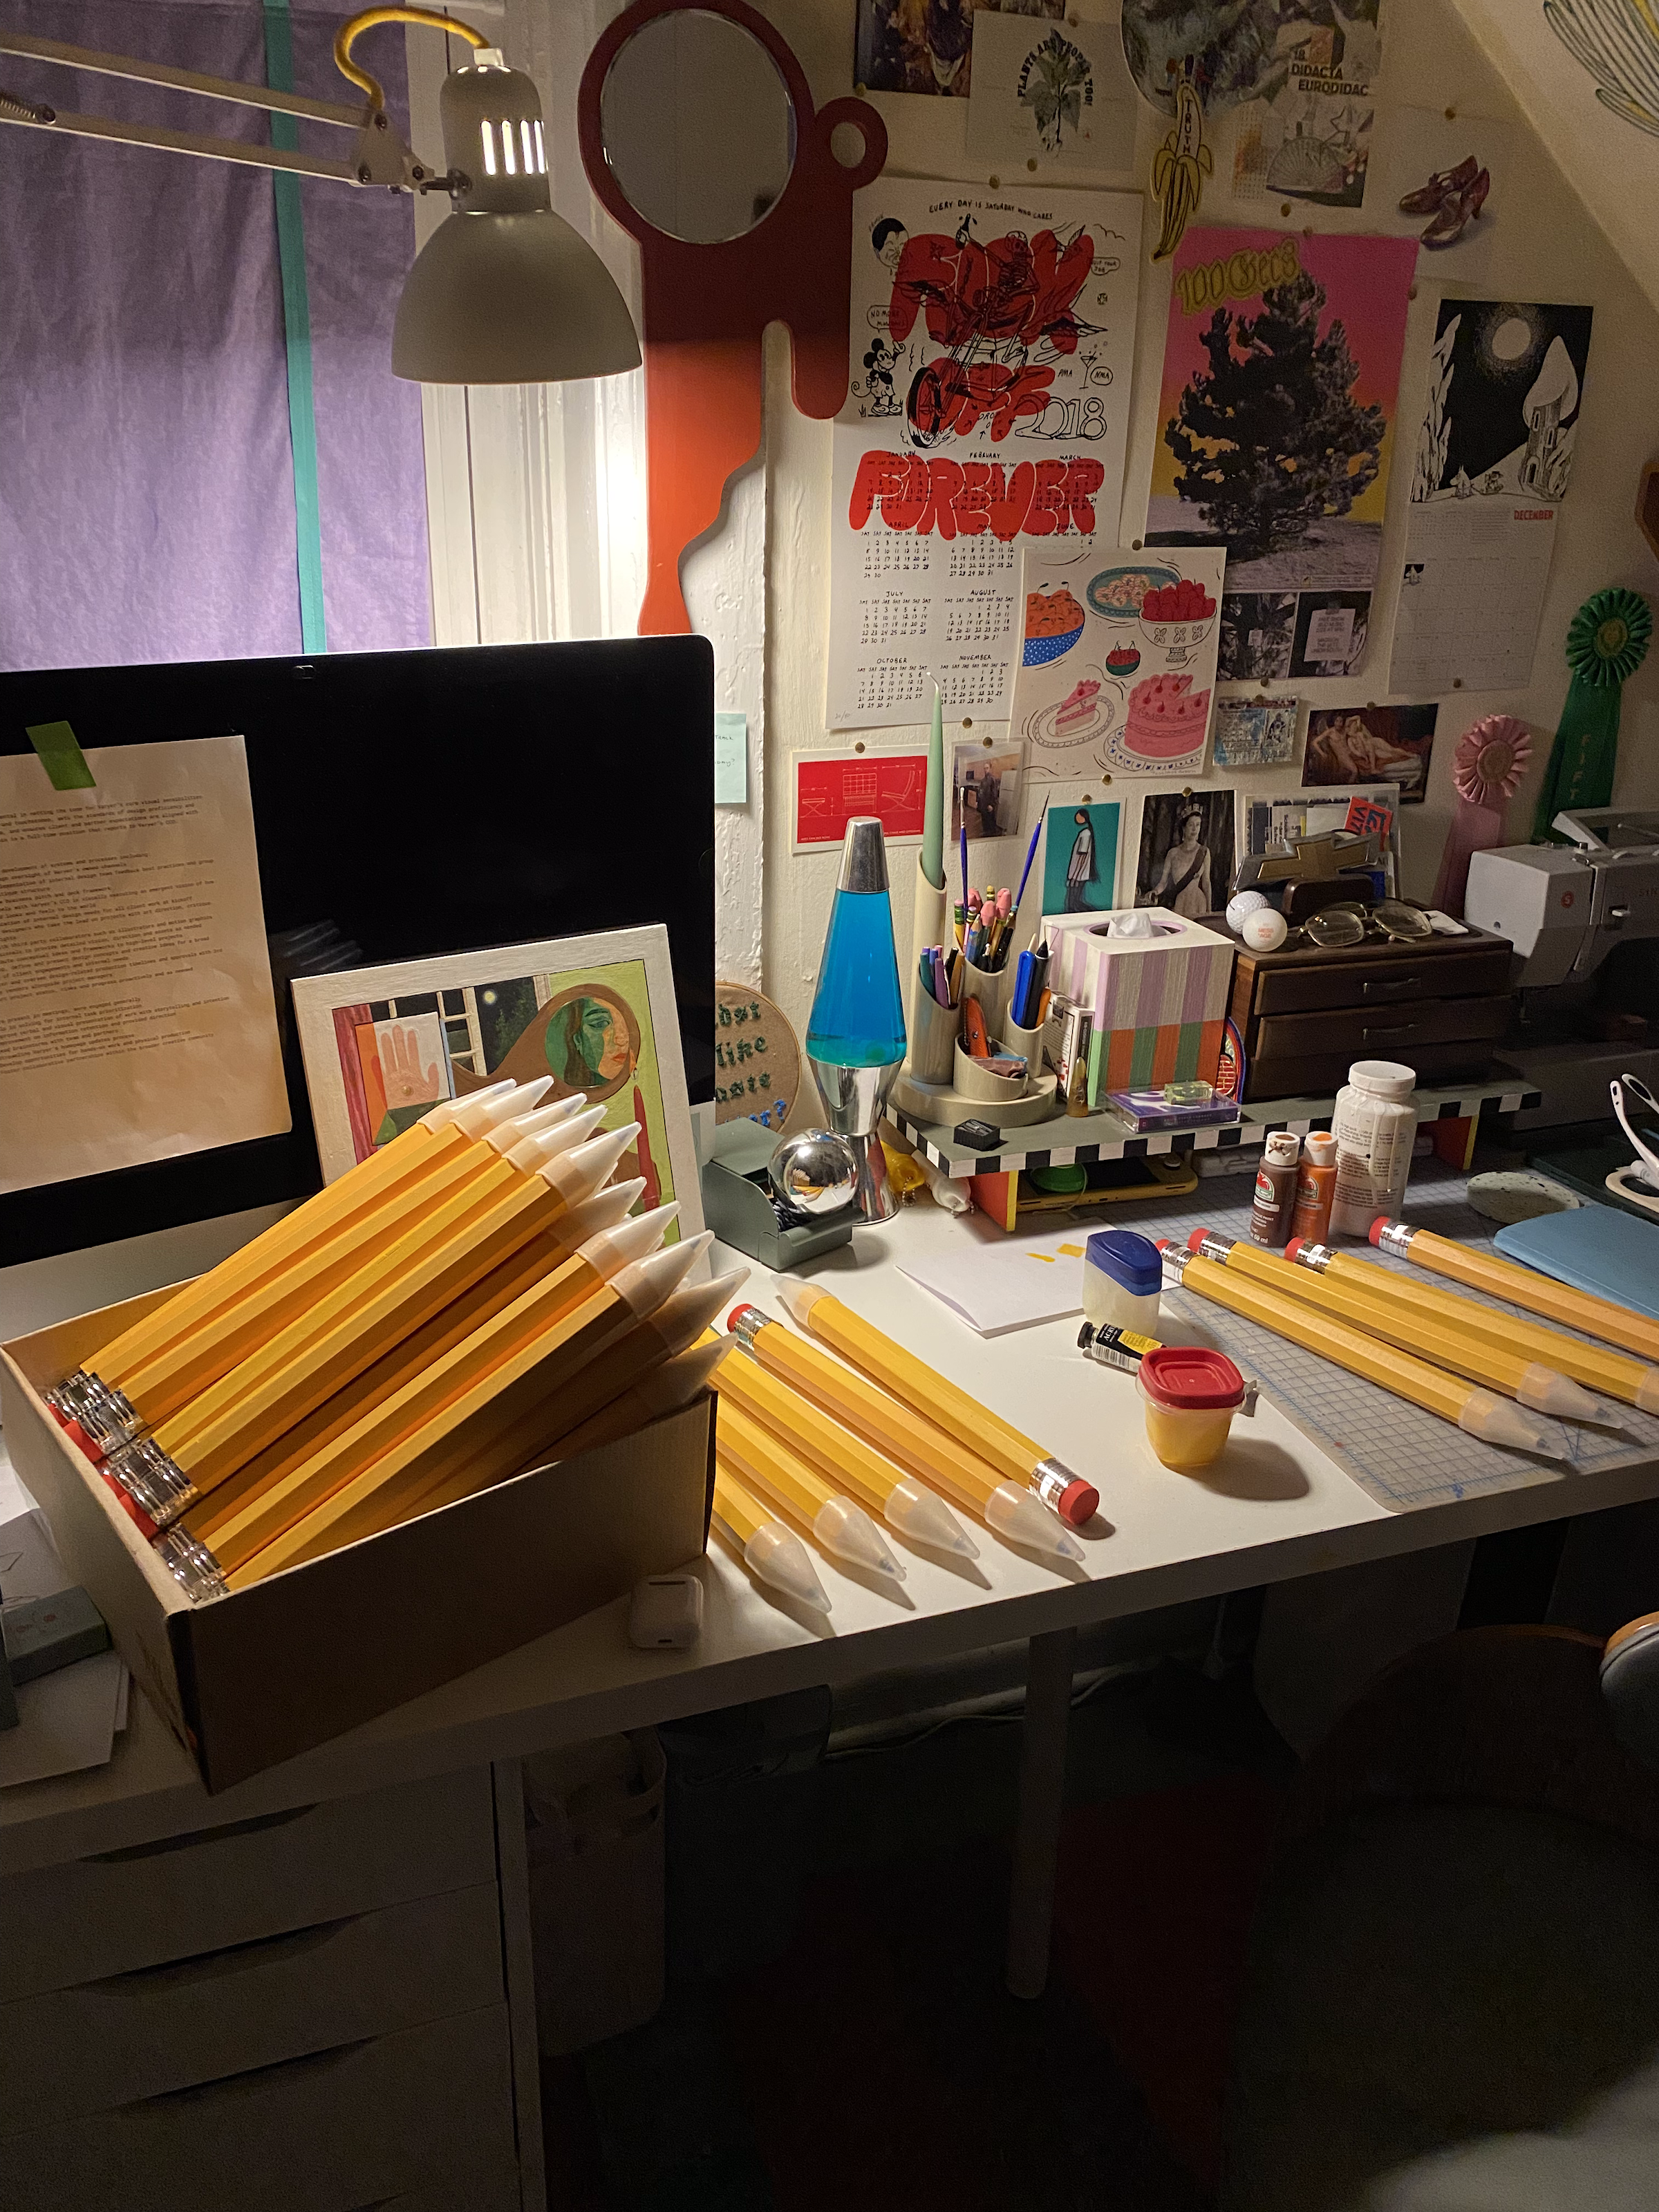
For our annual holiday gift, I was tasked with the honor of stripping the branding from Archie McPhee giant pencils and replacing it with each recipient’s name. To do so, I sanded each pencil down, repainted the sanded area, and used a hot foil pen (a crafting staple) to stamp the names. I would love to say I mastered the craft, but that would make me no better than the people I was just complaining about—I would, of course, never do that, because I’m not annoying ❤️. Instead, I’ll let the experts below teach you how to use a hot foil pen, as well as a few other foil-embossing methods I’ve encountered over the years. Craft YouTubers are the wind beneath my wings, and you better smash that Like button and leave a nice comment on their videos if you apply any of their teachings to your own work.
In the spirit of sharing, I also made the alphabet I designed for the big pencils available for download here. Please use it wisely, and don’t write mean things about me with it.
Hot Foil Pen
I am obsessed with David Chill, Foil Guru. I didn’t see this tutorial until after the pencils were completed but I used his exact method with text I printed out rather than a pre-made stencil. Additionally, the hot pen I was provided had a flat, blunt tip as opposed to the classic pen nib David uses in this video, so it was much harder for me to foil stamp consistent line work. I took advantage of the weird nib shape by building an alphabet out of dots, so that I could stamp out the text rather than write it out as you would with a traditional nib.
Foil Lamination
I’ve used this method on small print runs, and it makes me feel like a scientist. It does, however, require more machinery than other foil processes in this list—but as an unhinged person, I owned both a laser printer and laminator before learning about this technique. Luckily, both are pretty easy to access if you play your cards right. Just as you are always six feet away from a spider, someone in your friend circle probably owns a LaserJet printer. The laminator might be tougher if you want to avoid buying from Amazon: I got mine from the random-stuff aisle at Aldi, and you can usually find one at a thrift store. Once you have the supplies, this is super easy—an expert tip I can pass along is to use an InkJet printer for the first print pass, then print areas you want to be spot metal using the LaserJet.
Heat Gun + Foil Powder
I learned about this process from a friend in college who was addicted to spending $60 at Paper Source. This tutorial uses a stamp, but my friend had a special pen with ink that the powder would adhere to. There’s definitely a learning curve to this process, as too much powder yields lumpy metal, and too little powder comes out splotchy. But, when done correctly, this turns out real classy.
No-Ink Embossing
I have never used this technique but this looks really cool, and I just love Gerry’s energy. I want to know if Gerry of Gerry’s Craft Room and David Chill, foil guru, know of each other . . . and if they have beef.


